メモ
この機能を使用するには、サイト管理者が code scanning を有効にする必要があります。 コードをスキャンするためにGitHub Actionsを使いなら、サイト管理者はGitHub Actionsの有効化と、必要なインフラストラクチャのセットアップもしなければなりません。 詳しくは、「アプライアンス用コードスキャンの構成」をご覧ください。
メモ
この記事では、このバージョンの GitHub Enterprise Server の初期リリースに含まれる CodeQL アクションのバージョンおよび関連する CodeQL CLI バンドルで使用できる機能について説明します。 エンタープライズでより新しいバージョンの CodeQL アクションを使用する場合は、この記事の GitHub Enterprise Cloud バージョンで最新の機能に関する情報を参照してください。 最新バージョンの使用方法については、「アプライアンス用コードスキャンの構成」を参照してください。
If you do not need a highly customizable code scanning configuration, consider using default setup for code scanning. For more information, see コード スキャンのセットアップの種類について.
Prerequisites
Your repository is eligible for advanced setup if it meets these requirements.
- It uses CodeQL-supported languages or you plan to generate code scanning results with a third-party tool.
- GitHub Actions が有効になっています。
- GitHub Advanced Security が有効になっている。
If the server on which you are running GitHub Enterprise Server is not connected to the internet, your site administrator can enable CodeQL code scanning by making the CodeQL analysis bundle available on the server. For more information, see アプライアンス用コードスキャンの構成.
Configuring advanced setup for code scanning with CodeQL
You can customize your CodeQL analysis by creating and editing a workflow file. Selecting advanced setup generates a basic workflow file for you to customize using standard workflow syntax and specifying options for the CodeQL action. See ワークフロー and コード スキャンのワークフロー構成オプション.
-
GitHub で、リポジトリのメイン ページに移動します。
-
リポジトリ名の下にある [Settings] をクリックします。 [設定] タブが表示されない場合は、 [] ドロップダウン メニューを選び、 [設定] をクリックします。
![タブを示すリポジトリ ヘッダーのスクリーンショット。 [設定] タブが濃いオレンジ色の枠線で強調表示されています。](/assets/cb-28260/images/help/repository/repo-actions-settings.png)
-
サイドバーの [Security] セクションで、[ Code security and analysis] をクリックします。
-
Scroll down to "Code scanning", in the "CodeQL analysis" row select Set up , then click Advanced.
メモ
If you are switching from default setup to advanced setup, in the "CodeQL analysis" row, select , then click Switch to advanced. In the pop-up window that appears, click Disable CodeQL.

-
To customize how code scanning scans your code, edit the workflow.
Generally, you can commit the CodeQL 分析ワークフロー without making any changes to it. However, many of the third-party workflows require additional configuration, so read the comments in the workflow before committing.
For more information, see コード スキャンのワークフロー構成オプション and CodeQL code scanning for compiled languages.
-
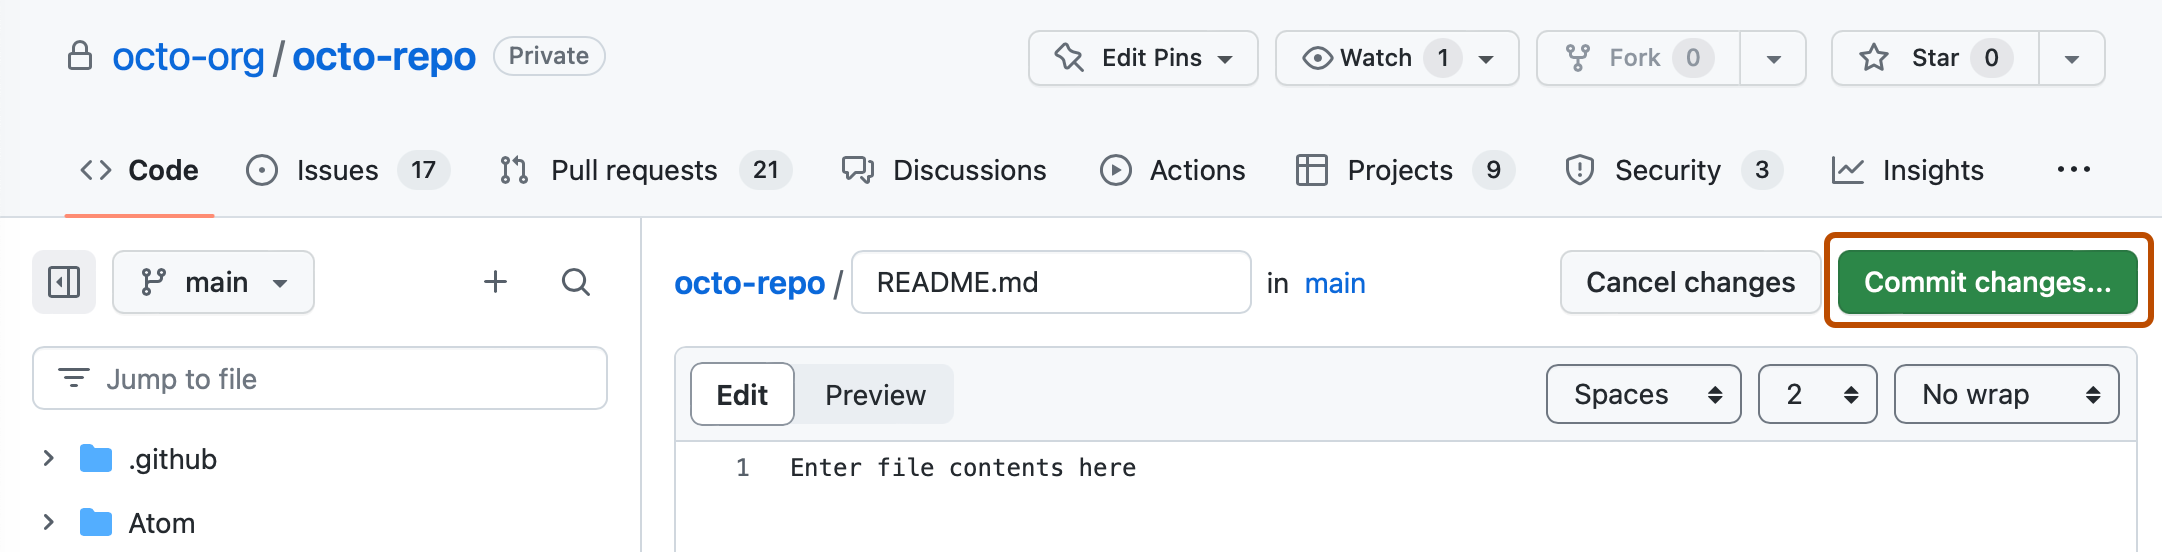
Click Commit changes... to display the commit changes form.
-
In the commit message field, type a commit message.
-
Choose whether you'd like to commit directly to the default branch, or create a new branch and start a pull request.
-
Click Commit new file to commit the workflow file to the default branch or click Propose new file to commit the file to a new branch.
-
If you created a new branch, click Create pull request and open a pull request to merge your change into the default branch.
![タブを示すリポジトリ ヘッダーのスクリーンショット。 [設定] タブが濃いオレンジ色の枠線で強調表示されています。](/assets/cb-28260/mw-1440/images/help/repository/repo-actions-settings.webp)


In the suggested CodeQL 分析ワークフロー, code scanning is configured to analyze your code each time you either push a change to the default branch or any protected branches, or raise a pull request against the default branch. As a result, code scanning will now commence.
The on:pull_request and on:push triggers for code scanning are each useful for different purposes. See コード スキャンのワークフロー構成オプション and ワークフローをトリガーする.
For information on bulk enablement, see CodeQL で大規模にコード スキャンの高度なセットアップを構成する.
Next steps
After your workflow runs successfully at least once, you are ready to start examining and resolving code scanning alerts. For more information on code scanning alerts, see Code scanningアラートについて and リポジトリのコード スキャンのアラートの評価.
Learn how code scanning runs behave as checks on pull requests, see Pull RequestでCode scanningアラートをトリアージする.
You can find detailed information about your code scanning configuration, including timestamps for each scan and the percentage of files scanned, on the tool status page. For more information, see Use the tool status page for code scanning.