If you do not need a highly customizable code scanning configuration, consider using default setup for code scanning. For more information, see 코드 검색을 위한 설정 유형 정보.
Prerequisites
Your repository is eligible for advanced setup if it meets these requirements.
- It uses CodeQL-supported languages or you plan to generate code scanning results with a third-party tool.
- GitHub Actions이(가) 가동되었습니다.
- 퍼블릭으로 표시되거나 GitHub Code Security가 사용됩니다.
Configuring advanced setup for code scanning with CodeQL
You can customize your CodeQL analysis by creating and editing a workflow file. Selecting advanced setup generates a basic workflow file for you to customize using standard workflow syntax and specifying options for the CodeQL action. See 워크플로 and 코드 검색을 위한 워크플로 구성 옵션.
작업을 사용하여 code scanning를 실행하는 데는 몇 분 정도 걸립니다. 자세한 내용은 GitHub Actions 비용 청구을(를) 참조하세요.
참고
You can configure code scanning for any public repository where you have write access.
-
GitHub에서 리포지토리의 기본 페이지로 이동합니다.
-
리포지토리 이름 아래에서 Settings를 클릭합니다. "설정" 탭이 표시되지 않으면 드롭다운 메뉴를 선택한 다음 설정을 클릭합니다.

-
사이드바의 "Security" 섹션에서 Advanced Security 를 클릭합니다.
-
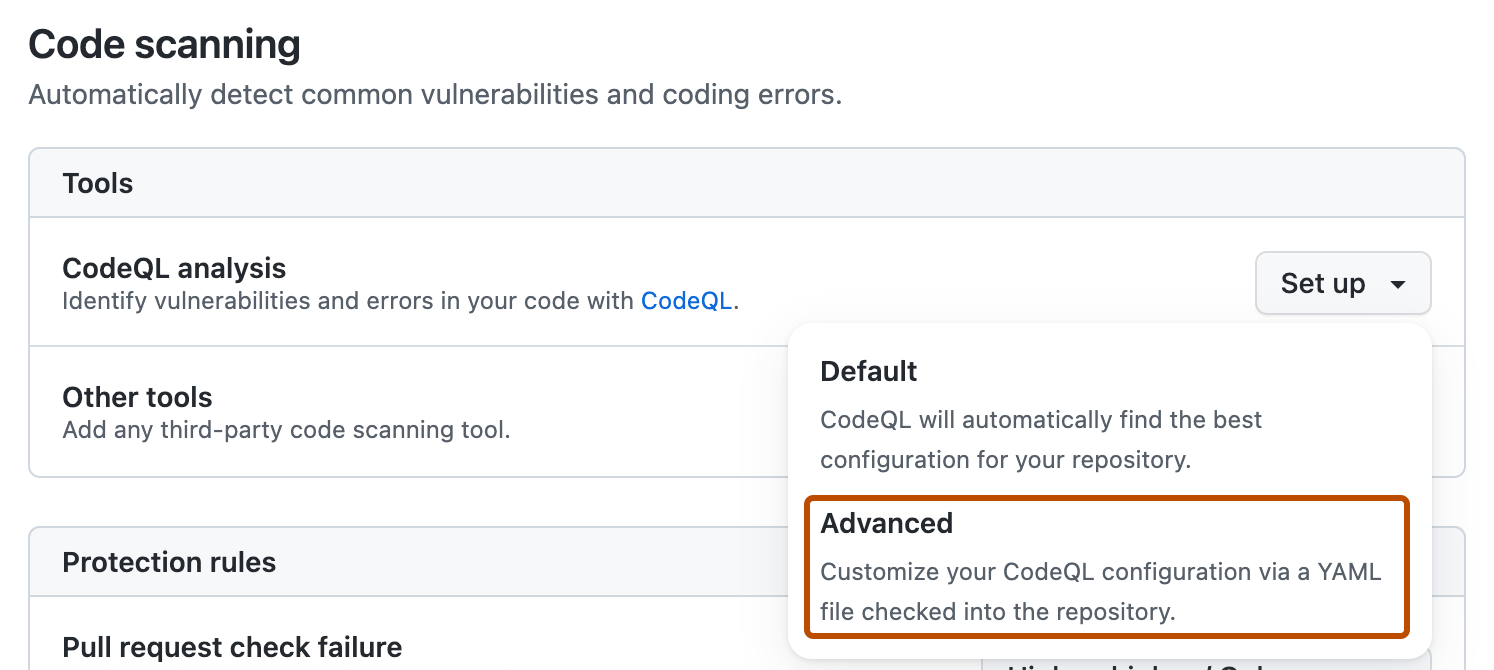
Scroll down to "Code Security", in the "CodeQL analysis" row select Set up , then click Advanced.
참고
If you are switching from default setup to advanced setup, in the "CodeQL analysis" row, select , then click Switch to advanced. In the pop-up window that appears, click Disable CodeQL.
-
To customize how code scanning scans your code, edit the workflow.
Generally, you can commit the CodeQL 분석 워크플로 without making any changes to it. However, many of the third-party workflows require additional configuration, so read the comments in the workflow before committing.
For more information, see 코드 검색을 위한 워크플로 구성 옵션 and CodeQL code scanning for compiled languages.
-
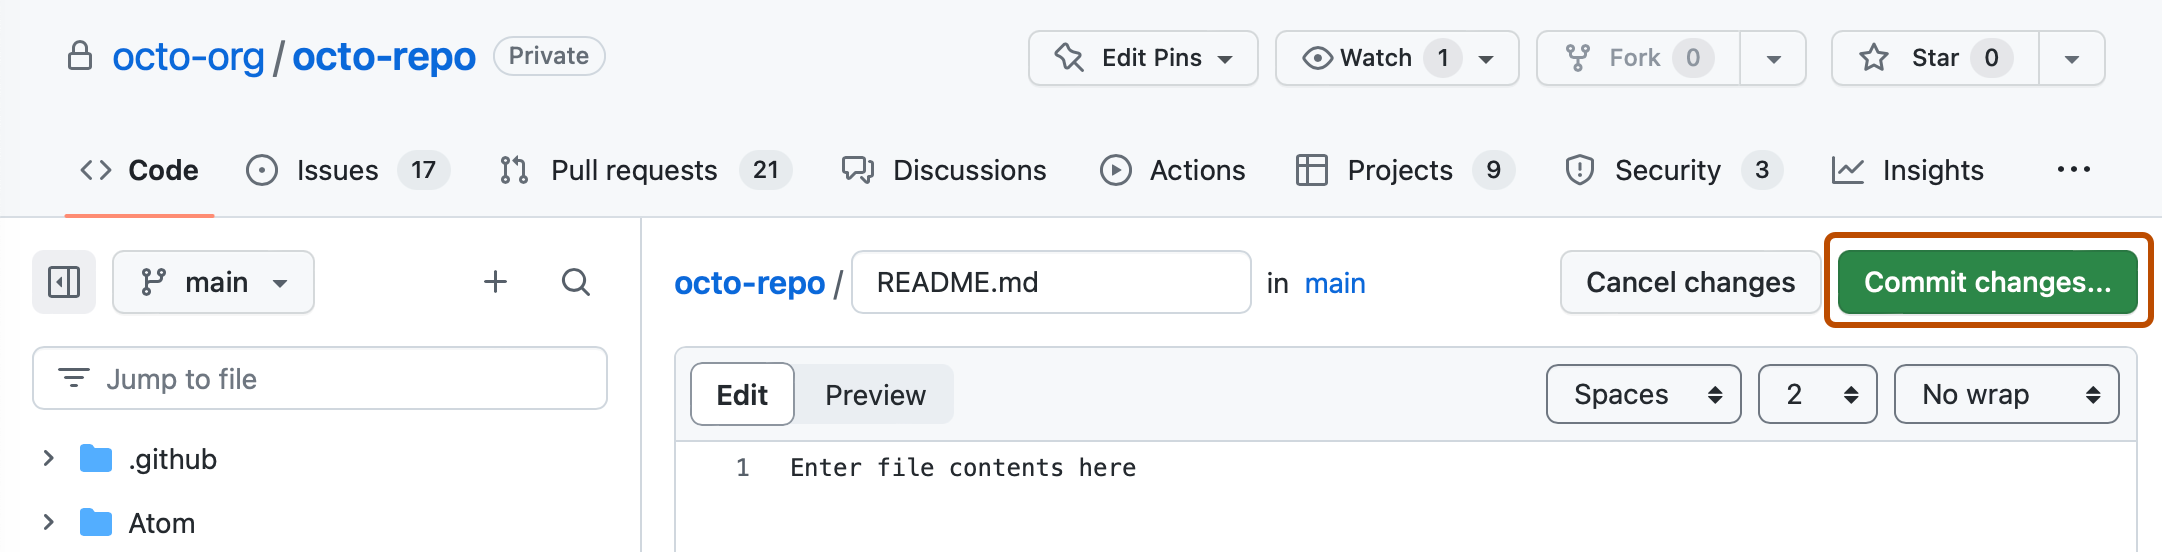
Click Commit changes... to display the commit changes form.
-
In the commit message field, type a commit message.
-
Choose whether you'd like to commit directly to the default branch, or create a new branch and start a pull request.
-
Click Commit new file to commit the workflow file to the default branch or click Propose new file to commit the file to a new branch.
-
If you created a new branch, click Create pull request and open a pull request to merge your change into the default branch.


In the suggested CodeQL 분석 워크플로, code scanning is configured to analyze your code each time you either push a change to the default branch or any protected branches, or raise a pull request against the default branch. As a result, code scanning will now commence.
The on:pull_request and on:push triggers for code scanning are each useful for different purposes. See 코드 검색을 위한 워크플로 구성 옵션 and 워크플로우 시작.
For information on bulk enablement, see CodeQL을 사용한 대규모 코드 검사의 고급 설정 구성하기.
Configuring code scanning using third-party actions
GitHub includes workflow templates for third-party actions, as well as the CodeQL action. Using a workflow template is much easier than writing a workflow unaided.
작업을 사용하여 code scanning를 실행하는 데는 몇 분 정도 걸립니다. 자세한 내용은 GitHub Actions 비용 청구을(를) 참조하세요.
-
GitHub에서 리포지토리의 기본 페이지로 이동합니다.
-
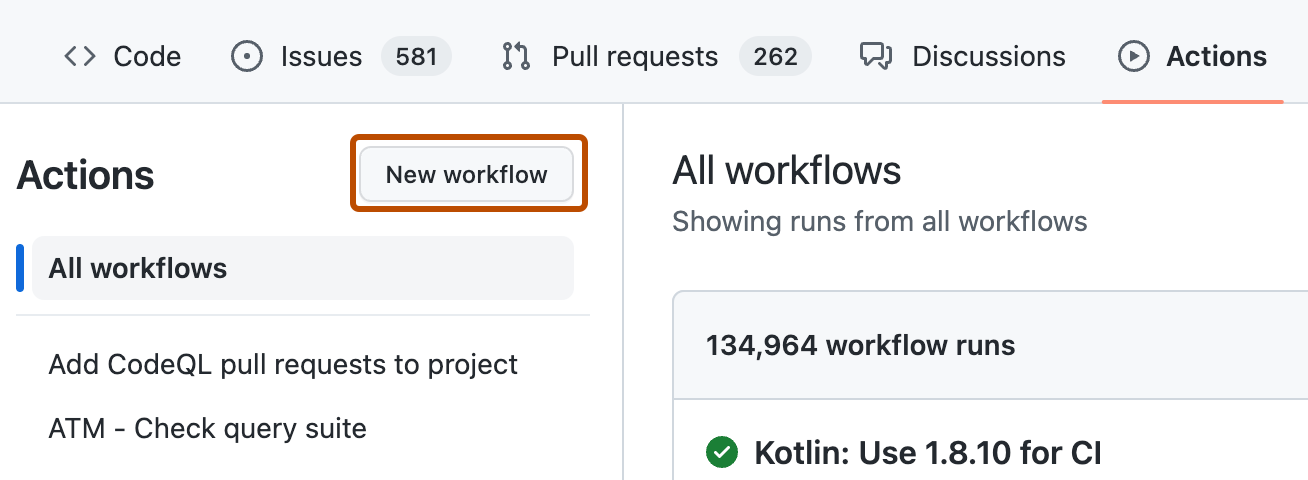
리포지토리 이름에서 작업을 클릭합니다.

-
If the repository has already at least one workflow configured and running, click New workflow to display workflow templates. If there are currently no workflows configured for the repository, go to the next step.
-
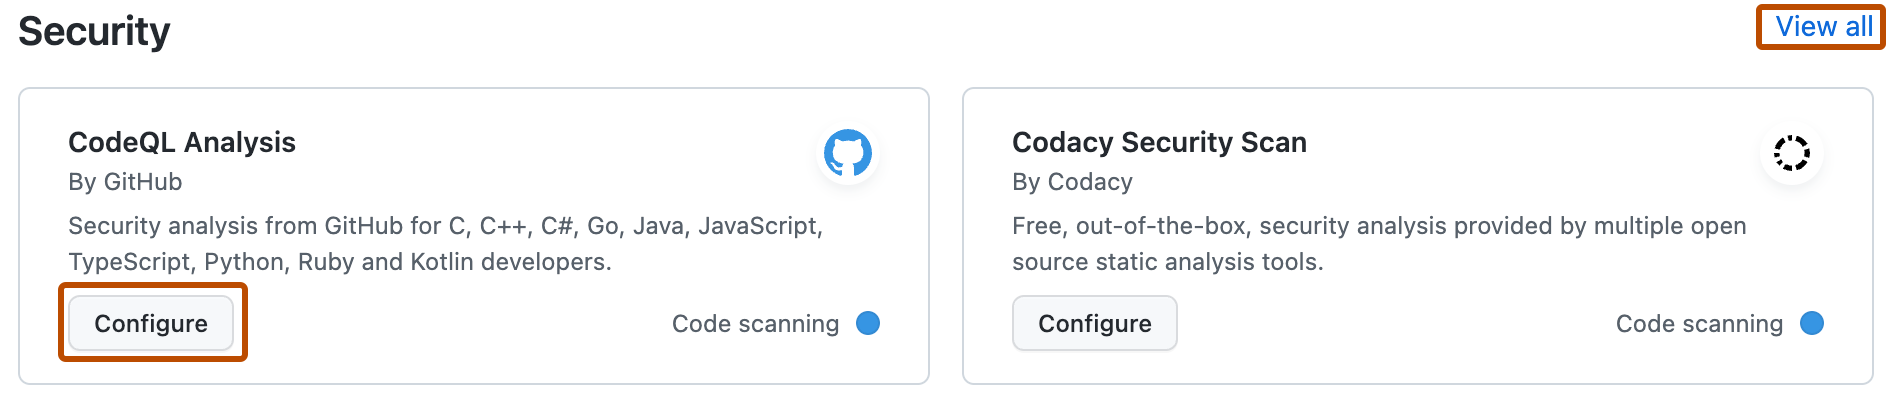
In the "Choose a workflow" or "Get started with GitHub Actions" view, scroll down to the "Security" category and click Configure under the workflow you want to configure. You may need to click View all to find the security workflow you want to configure.
-
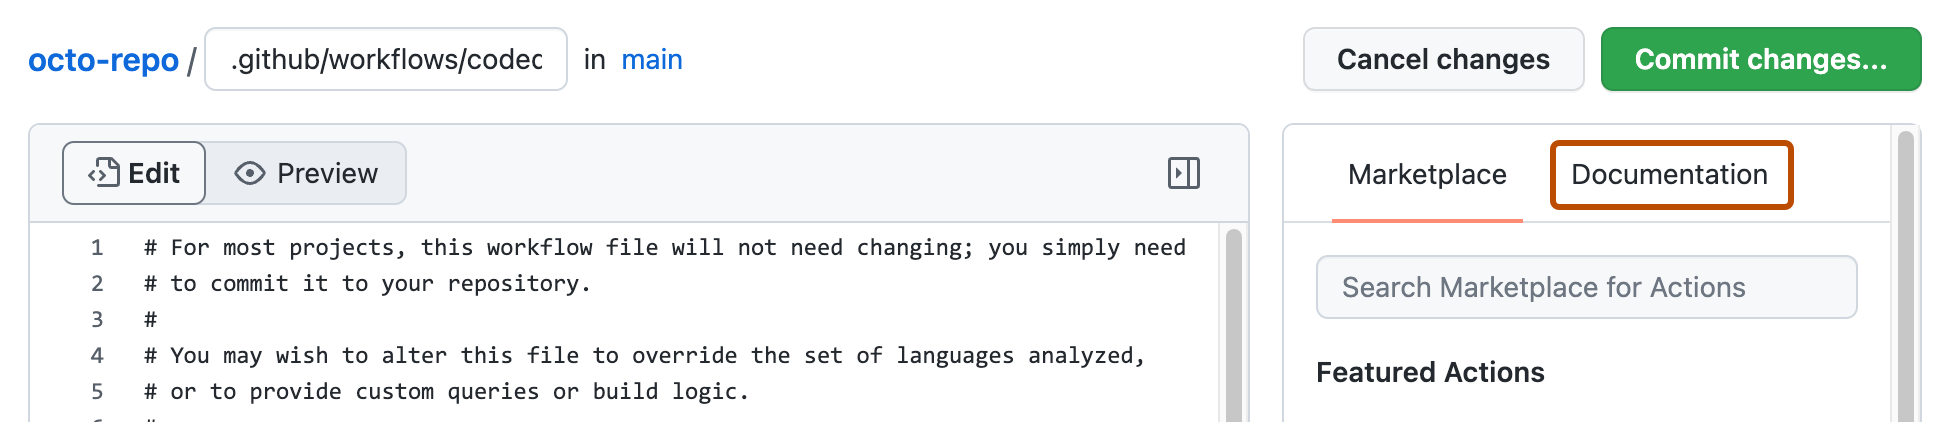
Follow any instructions in the workflow to customize it to your needs. For more general assistance about workflows, click Documentation on the right pane of the workflow page.
-
When you have finished defining your configuration, add the new workflow to your default branch.
For more information, see 워크플로 템플릿 사용 and 코드 검색을 위한 워크플로 구성 옵션.


Next steps
After your workflow runs successfully at least once, you are ready to start examining and resolving code scanning alerts. For more information on code scanning alerts, see 코드 검사 경고 정보 and 리포지토리에 대한 코드 검사 경고 평가.
Learn how code scanning runs behave as checks on pull requests, see 끌어오기 요청에서 코드 검사 경고 심사.
You can find detailed information about your code scanning configuration, including timestamps for each scan and the percentage of files scanned, on the tool status page. For more information, see Use the tool status page for code scanning.